
How to Build a Noodle Board (DIY)
Tools and supplies I recommend: https://www.amazon.com/shop/influencer-4e5e1fdd?ref=ac_inf_hm_vp
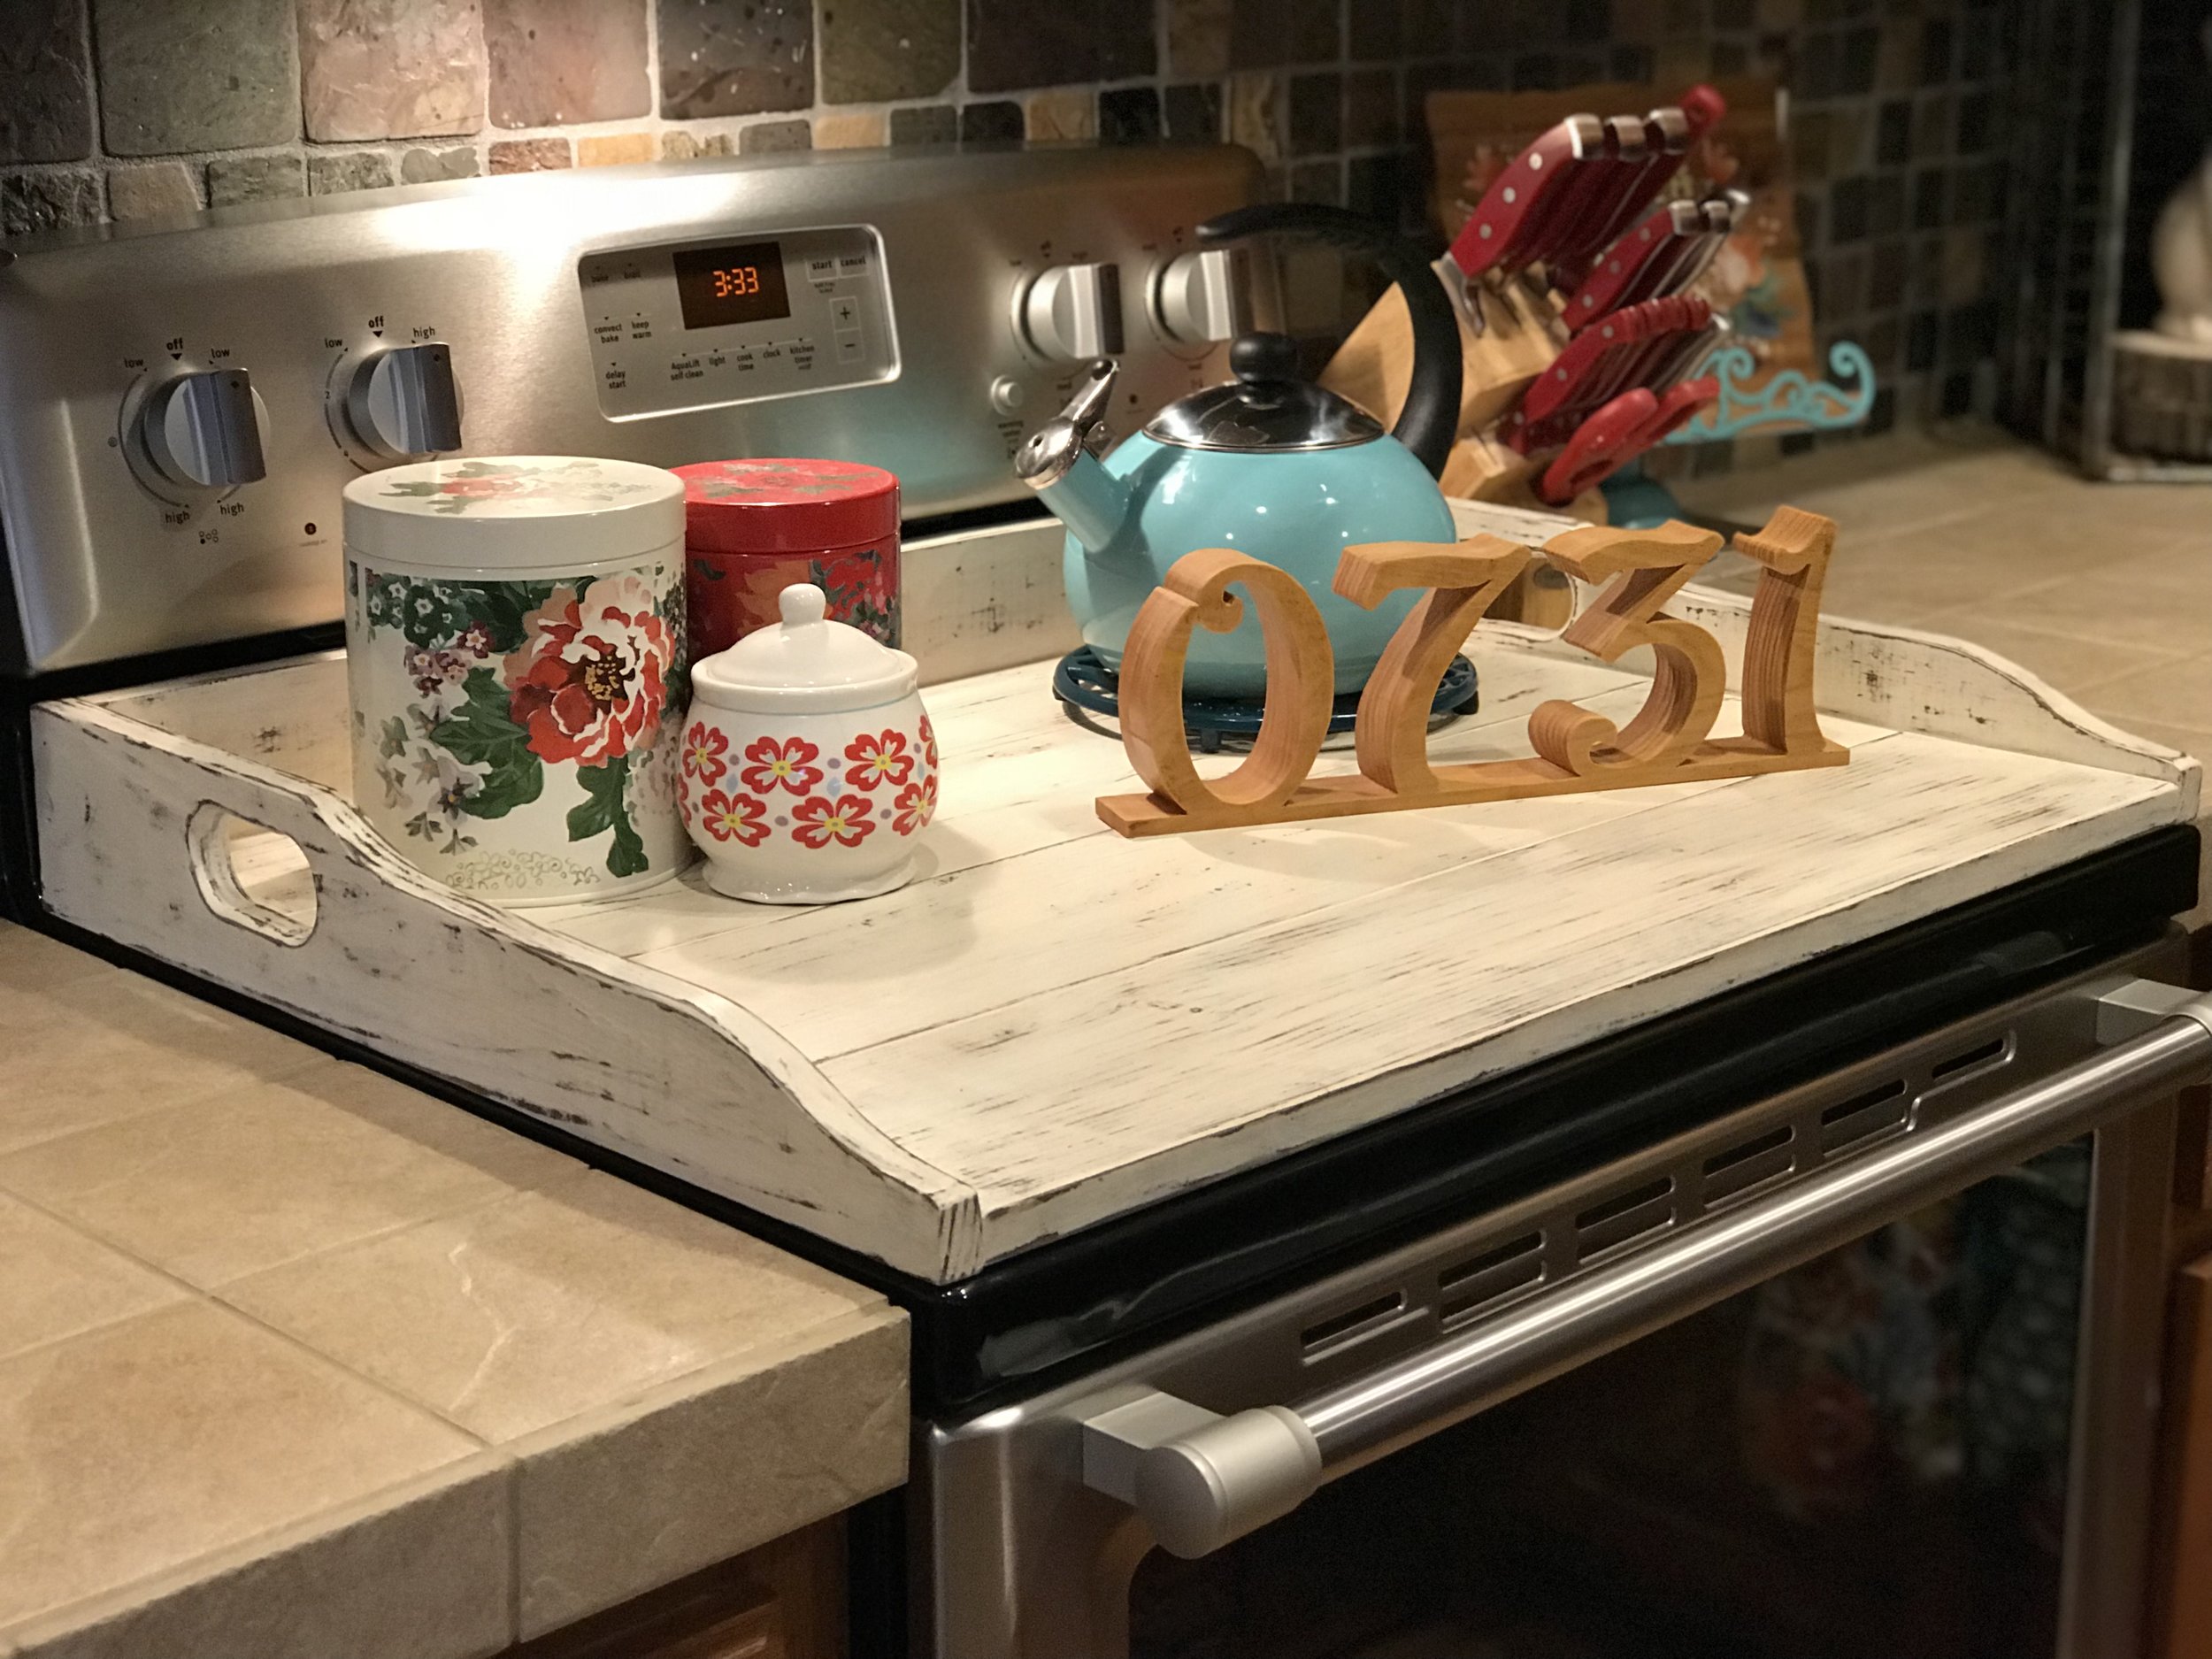
What is a noodle board? A noodle board is basically a stove cover. It goes on the top of your stove top and is used as a decoration. Well, at least the ones we make are for decoration only. We don't recommend preparing food on them. They add extra counter space when the stove is not in use. ALWAYS remove the noodle board before using the stove/oven and remember to let the stove cool completely before putting it back on top.
We absolutely love the look our noodle board gives our kitchen. It adds that farmhouse elegance to our kitchen. If you are looking to add to your kitchen decor, then I will tell you how to build one. Here is the step by step guide to building a noodle board.
Supplies you will need:
2 - 8 foot 1"x 6" boards (for the bottom)
1 - 8 foot 1" x 4" board (for the sides and back)
Pocket hole jig - I have the Kreg K5 but the Kreg R3 will work also
Saw (circular, miter or table saw), drill, hole saw bit and jig saw.
Getting started:
Measure your stove to decide the width and length you want your noodle board to be. We wanted ours to be the exact width of our stove. The depth we decided to make 1/2" less than the actually depth of the stove to allow for the curvature under the stove top controls.
Cut your 1 x 6 boards into equal lengths to match the width of your stove, less 1 1/2". You minus 1 1/2" because you will have 2 of the 1x4 boards, one on each side for handles. You should only need 4 boards this length. Ours were 29 3/4" less the 1 1/2".
Next drill 3 to 4 pocket holes on 1 side of 3 of your boards. Remember to set the pocket hole jig for 3/4" material and set the bit stop collar for the same. Both the Kreg K5 and R3 have guides to set the proper depth.

Attach the boards using the Kreg 1 1/4" pocket hole screws. Try to keep the boards lined up and flush while attaching the screws. A clamp will help here if you have one.
Once the boards are attached, use your circular saw or table saw to cut the assembled board to the proper width to match the stove top from front to back, less 3/4" to allow for your back board. We had to rip off approximately 2" from the back board.
You should have a noodle board that is 1 1/2" less than the width of your stove and 3/4" less than the depth of your stove front to back. The 1 1/2" allows for your 2 side boards (handles) and the 3/4" allows for your back board.
Now it is time to cut your 2 side boards and back board. We cut our side boards the depth of our noodle board plus 3/4" to overhang on the back so that it would be flush with the back board. The back board will be cut the same length as your noodle board.
Next we drilled pocket holes along the underside, back of our noodle board and underneath side along both sides. This is how we attached our side boards and back boards.


Using a hole saw to make handles
Next we free hand drew a design on the side boards. You can cut the ends off at an angle or leave them square. It just depends on the look you want and tools you have on hand. For the handle holes, we used a 1 1/2" hole saw bit and drilled 2 holes the same distance from the top of the board and about 2" center of the hole to center of the hole. After drilling the hole we connected the dots with the jig saw making an oval hand hole in each board.

Oval handles
Once you have the handles cut out and any design you wanted in the side boards, it is time to attach them to your noodle board. Using the 1 1/4" pocket hole screws, attach both side boards first, be sure to flush them up to the front of the noodle board. Then attach the back board.
You have a noodle board. Now you can paint or stain it any color of your choosing. Happy noodling!

Finished distressed noodle board
I did a video of this build if you want to watch to give you an idea of the process.
This is a good beginner woodworking project that can add a touch of farmhouse kitchen to your home. Comment below or on the YouTube video to let me know what you think and if you will build one.
Affiliate links used in this article.